Ultimate Beginner’s Survival Guide: Your First 50 Days in Minecraft
Minecraft may look simple on the surface — punch trees, build houses, fight zombies — but anyone who’s spawned into a new world knows how quickly a calm afternoon can turn into a frantic scramble for survival. Creepers explode, hunger creeps in, and suddenly your world ends before it really begins.
If you’re new to the game, this guide will help you navigate the crucial first 50 Minecraft days, building a foundation for long-term survival and adventure.
Days 1–3: Shelter, Tools, and Survival Basics
Your first few in-game days are about one thing: staying alive.
- Punch wood immediately. Trees are everywhere, and wood is the foundation of your tools. Craft sticks and a crafting table, then make wooden tools (pickaxe first).
- Find coal or make charcoal. Torches are essential to prevent hostile mobs from spawning inside your shelter. If you can’t find surface coal, smelt wood logs in a furnace for charcoal.
- Hunt or gather food. Kill animals for meat, or collect apples, berries, and seeds. Without food, you’ll lose the ability to sprint and eventually starve.
- Build a basic shelter. Dig into a hillside or stack up cobblestone to make a 5×5 safe hut with a door and torches inside. Don’t worry about design yet — this is about safety.
- Craft stone tools. As soon as possible, upgrade to stone. They’re faster, stronger, and essential for your first furnace.
By the end of Day 3, you should have a small lit shelter, stone tools, a furnace, and a modest food supply.
Days 4–10: Exploration and Farming
With the basics covered, you can start thinking beyond survival.
- Scout your surroundings. Look for a good location to settle more permanently — ideally near plains or rivers, with access to animals, trees, and caves.
- Start a small farm. Use a hoe to till dirt near water and plant seeds from tall grass. Even a tiny wheat farm ensures long-term food.
- Collect animals. Lure cows, sheep, or chickens with wheat or seeds into pens. Breeding them provides renewable food and materials like leather and wool.
- Mine responsibly. Start a staircase mine leading deep underground. Always bring torches, food, and spare tools. Strip mining or branch mining at deeper levels will yield iron.
- Upgrade to iron gear. Your first goal is a full set of iron armor and tools, especially an iron pickaxe for rare ores.
By the end of Day 10, you should feel safer: steady food sources, iron equipment, and a more comfortable shelter.
Days 11–20: Expanding Your Base and Resources
Now it’s time to build systems that make survival easier.
- Expand your farm. Plant more wheat, and add carrots or potatoes if you’ve found a village. Sugarcane near water is also useful later for books and maps.
- Create storage. Craft chests to organize wood, stone, ores, food, and mob drops. Keeping inventory sorted saves headaches later.
- Build a bed. If you haven’t already, craft one using wool and wood. This sets your spawn point and skips the dangers of night.
- Light up your area. Place torches around your base perimeter to prevent mobs from spawning.
- Start smelting iron into buckets. Buckets let you carry water and lava — incredibly useful for farming, obsidian collection, and defense.
By Day 20, your base should feel like a hub, not just a hole in the ground.
Days 21–30: Venturing Deeper Underground
The mid-game begins here, as you prepare for advanced resources.
- Hunt for diamonds. Dig below Y-level -59 for the best chance. Diamonds allow for the strongest gear and tools. Aim first for a diamond pickaxe.
- Craft an enchantment table. With diamonds, obsidian, and a book, you can start enchanting gear. Even a basic “Efficiency” or “Protection” enchant makes life safer.
- Start mob farming. If you’ve found a dungeon spawner, convert it into a basic XP farm. Experience points fuel enchanting, and mob drops are valuable resources.
- Collect obsidian. Use your diamond pickaxe to mine obsidian from lava-water interactions. This is required for both enchantment tables and Nether portals.
- Explore cautiously. Always carry a water bucket for lava safety and avoid digging straight down.
By the end of Day 30, you should have your first enchanted tools and maybe even a Nether portal ready.
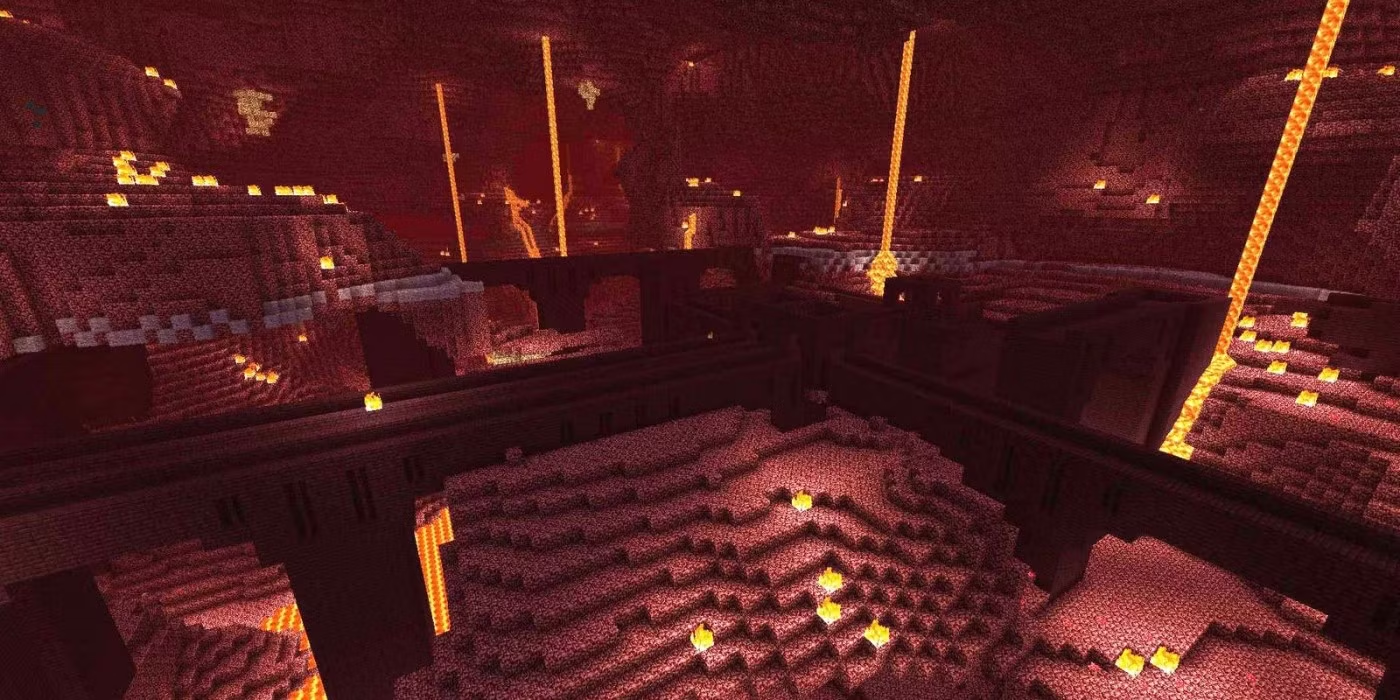
Days 31–40: The Nether and Advanced Survival
Stepping into the Nether is a big milestone — dangerous but necessary for progression.
- Prepare thoroughly. Bring iron armor (diamond if possible), a shield, bow, food, and blocks for fortifications.
- Search for a Nether Fortress. These structures house blaze spawners, which provide blaze rods — essential for brewing and progressing to “The End.”
- Collect Nether resources. Quartz for XP, glowstone for lighting, nether wart for potions. Be wary of ghasts and piglins.
- Upgrade armor and weapons. Combine enchantments and aim for Protection and Sharpness to survive longer.
- Begin potion brewing. Healing, regeneration, and fire resistance potions greatly increase survival odds.
Surviving the Nether proves you’ve mastered the basics of combat and resource management.
Days 41–50: Preparing for the Endgame
By now, you’re well past “beginner” territory, but the final stretch prepares you for Minecraft’s ultimate challenge.
- Secure Ender Pearls and Blaze Powder. Craft Eyes of Ender to locate the stronghold that leads to the End.
- Breed villagers for trading. Librarians can provide enchanted books; clerics offer ender pearls. A villager trading hall becomes a powerful tool.
- Build defensive structures. Expand your base with walls, towers, or even redstone traps if you’re ambitious.
- Collect golden apples. Useful in tough battles, they provide regeneration and absorption.
- Scout your stronghold. Even if you’re not ready to fight the Ender Dragon, finding the portal location is an important step.
By the end of Day 50, you’re not just surviving — you’re thriving, with farms, enchanted gear, potions, and a plan for the future.
Final Tips for Beginners
- Always carry torches, food, and a water bucket. These three items save lives constantly.
- Don’t hoard iron. Use it — tools, armor, and buckets are worth far more than keeping ore in a chest.
- Backup supplies. Keep spare gear at your base so a surprise death doesn’t wipe your progress.
- Experiment with builds. Minecraft is about creativity as much as survival. Even a simple cobblestone base can evolve into a castle or village.
- Play at your own pace. Some players rush the dragon; others spend 200 days farming and building. There’s no wrong way to enjoy Minecraft.
Wrapping Up
Your first 50 days in Minecraft set the foundation for everything else: exploration, building, farming, and eventually tackling the game’s bosses. By pacing yourself — first securing food and shelter, then advancing into mining, farming, Nether exploration, and enchanting — you’ll move from a fragile beginner to a well-equipped adventurer ready for anything.
Minecraft is about the journey as much as the destination. So while this guide provides structure, don’t be afraid to wander off the path, build something weird, or tame a few dozen cats just because you can. That freedom is what makes Minecraft endlessly replayable — and why surviving your first 50 days is only the beginning of your story.